What 3D Printer Build Volume Do You Need?
Work out the build volume you actually need, why the advertised figure is not the usable one, what fits at 180, 256 and 350mm, and when bigger costs you.
The short answer
Around 250 mm on each axis, and you will rarely wish for more. What 3D printer build volume you need is, for the large majority of buyers, already what the standard class of filament machine gives you: 256 × 256 × 256 mm , a box a little wider than a shoebox is long.
There is one common exception, and it is usually a helmet. Printing a full-size adult helmet in one piece starts at roughly 350 × 350 × 330 mm , so if that is the project, the answer moves. Brackets, replacement parts, storage boxes, tabletop terrain, enclosures, tools and toys do not move it at all.
The rest of this page gets you from a thing you want to make to a number you can shop with — including how much of the advertised volume you can actually use, and why resin obeys different rules entirely.
What the number on the box means, and the part you cannot use
Build volume is the box the print head can reach: width, depth and height, in millimetres and almost always in that order. Anything bigger has to be cut into sections and joined afterwards. That is 3D printer volume explained in a sentence, and it is where most guides stop — leaving out that the advertised figure is not the figure you can print to.
Bambu Lab documents the gap in its own machines. The X1, P1 and A1 series are all sold as a 256 mm cube , but the slicer ships with printable height set to 250 mm rather than 256 mm, and an 18 × 28 mm patch of the front-left corner excluded so the tool head cannot foul the filament cutter's stopper . Recovering those last millimetres means collapsing the stopper with a printed part, clearing the excluded area and raising the height limit — and it only works with the multi-material unit disconnected. Bambu Lab's own advice is to leave the machine alone unless you truly need every millimetre .
Multi-colour printing takes a second bite. The prime tower — the sacrificial block that wipes the nozzle after each filament change — is on by default and built on the plate itself , competing with your model for the same area. ELEGOO states it from the other direction: model, skirt, supports and purge tower must all fit inside the volume together .
None of this is a scandal. It is a reason to leave headroom rather than shopping for the exact dimensions of the thing you want to make.
What each size class actually prints
Machines cluster into a handful of sizes, and the gaps are wider than they look, because volume grows as the cube of the edge. Prusa puts its 300 × 300 × 330 mm machine at 29.7 litres , against about 17 litres for a 256 mm cube — the same sum run on the published figure. A sixth more on each side, three-quarters more room.
This is what a 3D printer build size guide should lead with: not the classes, but what falls out of each one.
| Specification | Comfortable in one piece | Has to be split |
|---|---|---|
| 180 × 180 × 180 mm | Miniatures and terrain, phone stands, small brackets, most repair parts, organisers | Helmets, full-size masks, anything longer than a school ruler |
| 256 × 256 × 256 mm | The great majority of household printing — storage, tool holders, enclosures, sizeable toys | Helmets, long structural parts, large single-piece props |
| 300 × 300 × 330 mm | The above with slack for orientation, plus taller vases and lampshades | Helmets, though only into two halves |
| 350 × 350 × 350 mm | Most adult helmets in a single job, large panels, bulky assemblies | Full torso armour, furniture-scale parts |
| 420 × 420 × 480 mm | Cosplay armour sections, big functional parts, batches of smaller items | Little a home user is likely to want |
| 800 × 800 × 1000 mm | Furniture-scale single pieces | Effectively nothing, at a price and footprint to match |
The rungs are real machines: 180 × 180 × 180 mm at the small end , the 256 mm standard class , a large enclosed 350 × 350 × 350 mm , a cheap large-format 420 × 420 × 480 mm , and at the far end 800 × 800 × 1000 mm — on a platform made from four independent 410 × 410 mm plates rather than one surface , which says a good deal about how hard a single plate that size would be to build.
Owners repeatedly put the share of their prints that fit a standard-sized machine very high, and those who still want more volume tend to argue from the occasional print that needs it rather than the average one; the costs they name in return are the space the machine takes, slower printing and more material lost when a large print fails. Both halves of that are right.
Build volume for helmets, and what people are really asking
Helmets are why this question gets asked at all. A full-size adult cosplay helmet runs roughly 250–290 mm wide and 280–330 mm tall including any crest or fin , which lands it just past the standard class and squarely in the awkward middle.
Manufacturer guidance is unusually specific about where the seams appear. From roughly 350 × 350 × 330 mm upwards, most helmets print in a single job . On a 300 mm-class machine the helmet comes off the plate as two vertical halves, leaving one seam to fill and sand; below 250 mm it becomes four pieces or more . A 350 × 350 × 350 mm machine sits directly on the line where the gluing stops.
Whether crossing that line is worth it depends on how much you dislike bodywork, not on anything technical. A split helmet is an evening of filler and sanding that a whole one is not.
So the honest rule is about frequency, not possibility. One helmet ever: split it. One every few months: that evening recurs, and this is the strongest argument on the page for buying larger than your average print needs.
Resin asks a different question
Everything above assumes filament. Resin changes both the answer and the reasoning behind it, and not one of the general size guides consulted for this page mentions that.
Start with the shape. A resin machine's width and depth are set by the LCD panel under the vat, so the volumes are small and oddly proportioned rather than cubic: 153.36 × 77.76 × 165 mm on a common 7-inch machine , 211.68 × 118.37 × 220 mm on a larger 10-inch one . The machine is no smaller for it — that 7-inch printer still occupies 260 × 268 × 451.5 mm .
Then the part that changes the decision. These are MSLA printers: a mono LCD masks a single light source, so a layer forms in one exposure rather than being traced by a moving nozzle . That is why makers publish the speed as a height — up to 150 mm/h on both machines above — instead of a travel speed.
Run the arithmetic. ELEGOO quotes about 5.5 seconds a layer in fast mode on its own defaults , with layers adjustable from 0.01 mm to 0.2 mm . At 0.05 mm, something 100 mm tall is two thousand layers, and two thousand layers at five and a half seconds is a little over three hours. Set a second model down beside the first and you add no layers, so you add almost no time.
Filling a resin plate is close to free; height is what costs. On a filament machine the reverse holds, because the nozzle traces every part in turn.
So for resin the question is never how much volume you need, but how tall the tallest thing is and how many short ones fit around it — the opposite of the advice that serves a filament buyer.
Small vs large: what more build volume costs
The case for buying big makes itself; the case against has to be assembled. Here are the two ends of the decision, as worked examples rather than recommendations.
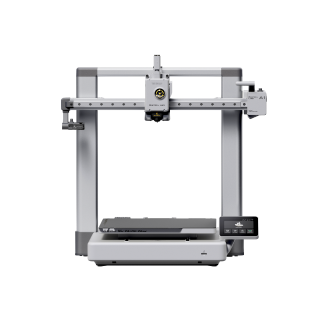
Bambu Lab A1
A1 (standard, without AMS lite)
A worked example of the class most buyers land in, chosen because its maker publishes what is not usable as well as what is.
- Build volume
- 256 × 256 × 256 mm
- Technology
- FDM
- Max speed
- 500 mm/s toolhead (10,000 mm/s² acceleration)
- Enclosed
- No
- Multi-colour
- Optional (AMS lite sold separately; up to 4 spools)
- Auto levelling
- Yes (fully automatic)
A 256 mm cube for between about £240 and £320 , with two years of UK warranty , covers nearly everything a household prints. It also shows the first hidden cost of volume: the machine takes up 385 × 410 × 430 mm of desk , comfortably more than the box it prints, and every step up widens that gap.
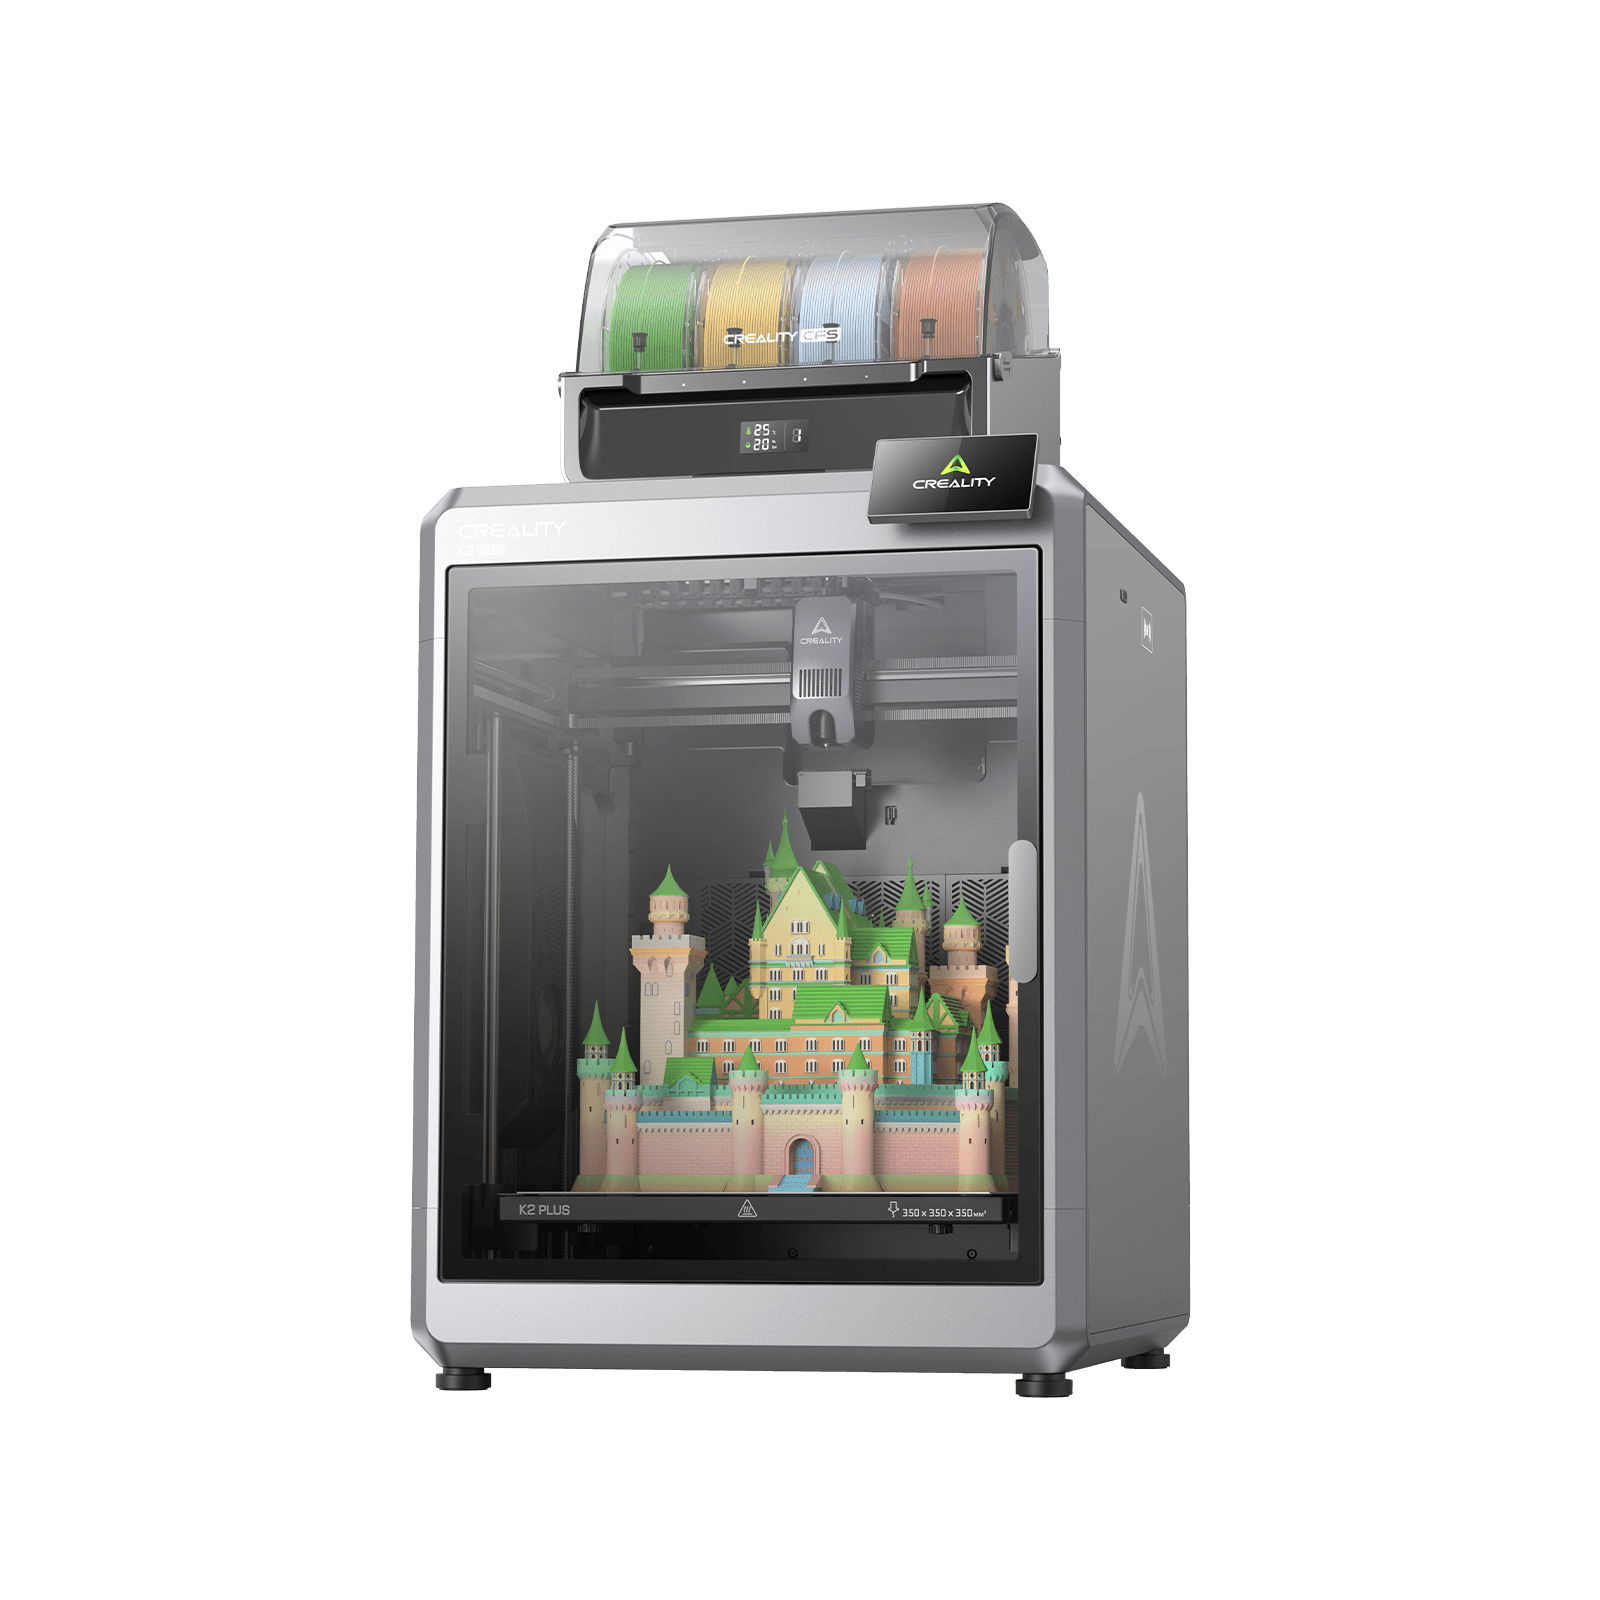
Creality K2 Plus
K2 Plus (base printer, without the CFS; not the K2, K2 Pro, K2 SE or K2 Plus Combo)
The first rung where a full-size helmet stops being cut in half, and the clearest illustration available that a bigger heated plate brings a problem of its own.
- Build volume
- 350 × 350 × 350 mm
- Technology
- FDM
- Max speed
- ≤600 mm/s (≤30,000 mm/s² acceleration)
- Enclosed
- Yes — with active chamber heating to 60 °C
- Multi-colour
- Optional — up to 16 colours with four CFS units; the base machine is single-colour
- Auto levelling
- Yes — full-auto levelling, with a separate calibration AI camera
Moving up to 350 × 350 × 350 mm roughly triples the price, to between about £800 and £900 , halves the warranty to twelve months , and stops the machine being a desk appliance at 495 × 515 × 640 mm and 35 kg .
The cost nobody advertises is what heat does to a plate that size. A recurring theme among K2 Plus owners is that a plate this size is hard to keep flat once it is hot, and that large flat parts are where it shows; the responses they describe are a long bed soak before starting, a denser levelling mesh and re-levelling before each big print. That is general rather than particular to one machine: a larger sheet of metal has more room to move as it warms, and what exposes it is precisely the wide flat work a big printer gets bought for.
Further up, volume itself stays cheap — 420 × 420 × 480 mm sells for between about £380 and £470 — but the handling does not. Owners repeatedly advise that the Neptune 4 Max needs a very sturdy surface and a second pair of hands for assembly.
And something has to fill the volume. Ordinary PLA runs roughly £14 to £18 a kilogram , so a print using the full height of a large machine is several pounds of plastic and many hours, both lost if it fails at hour nineteen. A big plate raises the stake on every print, not just the big ones.
| Specification | Bambu Lab A1 | Creality K2 Plus |
|---|---|---|
| What it adds | Nothing to split for household printing | A full-size helmet without a seam |
| Where it lives | A desk, alongside other things | Its own surface, rarely moved |
| What gets harder | Little — the plate is small enough to behave | Keeping a hot plate flat, on the wide parts you bought it for |
| Cost of a failed print | Pence to a pound or two of filament | Several pounds of filament and potentially a day |
| Who it suits | Almost everyone, including people who think otherwise | People with a specific large thing they make repeatedly |
Choose the standard class if your largest routine print fits with a margin, or if you are not yet sure what you will print. Choose the large class if you can name a specific object that will not fit and expect to make it more than once. Wanting the option is not the same as needing it, and the option is not free.
Three things people get wrong
That the advertised volume is what you get. It is close, but not the same number, and the manufacturers say so: printable height defaults to 250 mm on a machine sold as a 256 mm cube, with a corner excluded on top of that . Buy to the exact size of your project and you may end up millimetres short of it.
That a bigger printer prints faster. It prints bigger, which is not the same thing. A filament nozzle traces every part it makes, so a full large plate takes longer than a full small one, not less. Resin is the exception, because the layer forms in a single exposure — which is why resin owners fill the plate and filament owners do not.
That splitting a model is a defeat. It is a technique with a known price in filler, sanding and time. Owners who have split large models describe it as a reasonable answer rather than a compromise, and raise two advantages unprompted: each section can be oriented for a better surface, and a section that fails or needs revising is reprinted on its own instead of the whole part.
Getting to your own number
What size 3D printer do you need? Five minutes with a tape measure answers it better than any size chart, including the one above.
1. Measure the biggest thing you print monthly, not annually. The annual project is what tempts people into a machine that spends eleven months oversized. Write down its three dimensions.
2. Add headroom on each axis. Brim, skirt, supports and a diagonal orientation all need room, and the usable area is smaller than the advertised one anyway . A fifth on top of your measurement is a sensible working margin.
3. Check the height separately. It is the axis people forget, and on resin it is the only one that costs time. On filament a tall thin part is also the likeliest to be knocked over by its own printing.
4. Decide what you will do about the outliers. Anything that does not fit means choosing between splitting it and buying a class up. One helmet a year: split it. One a month: buy the volume, knowing roughly 350 × 350 × 330 mm is where the halves stop .
5. Measure the space, not just the print. The machine is always larger than its build volume, and a printer you have to clear a space for each time gets used less.
If your number came out inside the 256 mm standard class , that is not a compromise. It is where almost everyone ends up.
Where to go next
If your number landed in the standard class, build volume is no longer the thing to choose on — the best 3d printer uk shortlist ranks on everything else, and the best budget 3D printers roundup does the same under a ceiling.
If you want to compare filament machines on their other specifications, the best FDM 3D printers roundup is the one to read. And if the resin section moved you towards a vat rather than a nozzle, the best resin printers roundup treats height and plate area as the decision they actually are.
How this article was researched
This guide is research-based. No printer named here was bought, tested, measured or photographed by us, and nothing on the page is offered as something we observed.
Every build volume, footprint, weight, warranty term and price band comes from a manufacturer specification page or a maker's own documentation, recorded with the date it was checked. Prices are bands because exact figures go stale within weeks; the product figures were last checked in September 2026. Where a number is arithmetic rather than a published specification — the litre capacities and the resin layer sum — it is presented as arithmetic, with its sources cited alongside.
Three things could not be verified and are absent rather than estimated: any usable-area figure for the resin machines named here, so that point rests on filament evidence only; any source stating in words that a full resin plate takes the same time as a single model, which the page instead reaches from the published per-layer timing and says so; and any figure for what proportion of downloadable models fit a given build volume.
The fit descriptions in the size-class table are editorial judgement, not measurements, and are labelled as such. Owner-experience passages are marked and summarise recurring patterns across manufacturer forums and long-term reviews — never quotations, never a rating.
Common questions
- What should UK buyers know about the build volume they need?
- Mostly that they need less than they think, and that the constraint which actually bites is the room rather than the machine. A standard-class filament printer gives a 256 mm cube, and the great majority of household printing — storage, repair parts, tool holders, toys, tabletop terrain — sits well inside it. Going larger is where UK buyers get caught out, because a large printer is not a desk appliance: a 350 mm-class machine is roughly half a metre wide and deep, over 60 cm tall, and weighs around 35 kg, which means a permanent surface that does not flex rather than a corner of a desk. The largest consumer machines weigh about 104 kg and want a floor position and a circuit they are not sharing. Before paying for volume, measure the space and decide where the thing is going to live for the next three years.
- Which factors change the answer for FDM and resin users?
- The two technologies invert each other, which is why a single size rule cannot serve both. On a filament machine the nozzle traces every part it makes, so filling a large plate costs proportionally more time, and the practical question is whether your largest object fits. On a resin machine the layer is formed in one exposure — which is why makers publish resin speed as a height per hour rather than a travel speed — so adding models beside each other costs almost nothing and only height adds time. Resin volumes are also much smaller and a different shape, because the width and depth are set by the LCD panel under the vat rather than by a gantry. The practical consequence: a filament buyer should ask how big their largest single object is, while a resin buyer should ask how tall the tallest one is and how many short ones fit around it.
- What practical checklist should a buyer follow?
- Five steps with a tape measure. One, measure the largest thing you print monthly rather than annually — the once-a-year project is what talks people into a machine that is oversized for the other eleven months. Two, add roughly a fifth on each axis for brim, supports and diagonal orientation, and because the usable area is smaller than the advertised one anyway. Three, check height separately: it is the axis people forget, and on resin it is the only one that costs time. Four, decide in advance what you will do about anything that does not fit, because splitting a model and buying a class up are both legitimate answers and the right one depends on how often the outlier comes round. Five, measure the space as well as the print — the machine is always bigger than its build volume, and a printer you have to clear room for each time is a printer that gets used less.