3D Printer Features Explained
Which 3D printer features change what you can print, which only save you work, and which are mostly reassurance — plus the documented limits of each.
A specification sheet tells you two things at once and does not label which is which. Most of it — automatic calibration, a filament sensor, power loss recovery, a camera, Wi-Fi — changes how much work the printer is to live with. Only a few lines change what you can physically make.
So here is 3D printer features explained in the order that matters: sort each line by whether it changes the output, the effort, or only your peace of mind, then find its documented limits before paying for it. The features that sell machines sit in the middle group — and that is where the maker's claim and the owner's experience part company.
Sorting the list before you read it
Lines that change what you can print. Build volume, maximum nozzle temperature, nozzle material, enclosure, colours. These set the boundary of the possible: an all-metal hotend with a 0.4 mm hardened steel nozzle survives the abrasive carbon-filled filaments that wear a brass one away, which is why its maker can list ASA, ABS and the fibre-filled grades . No software makes a machine print a material its hardware cannot reach.
Lines that change how much work it is. Calibration, filament sensing, power loss recovery, a camera, network printing. None widens what the machine can make; all cut how often you have to get up. Each also has a documented ceiling.
Lines that are mostly reassurance. An enclosure called a thermal chamber is not a heated one: one maker publishes bed and nozzle temperatures for its enclosed machine and no chamber-heating parameter at all . A real feature, just not the one the phrase implies. That is 3D printer specifications explained as a sorting job rather than a glossary: the question is not what a line means, but which group it sits in.
Automatic calibration is several things under one name
This is the feature most likely to sell you a printer and the one most likely to disappoint you, for the same reason: the phrase covers unrelated mechanisms while promising one outcome for all of them. What it describes is a probing routine — the machine touches the plate across a grid, builds a height map, and corrects nozzle height as it prints so the first layer stays even on a bed that is not flat. How it senses contact is where the similarity ends: two machines from one maker use a strain gauge under the heated bed and one on the nozzle , while a lidar elsewhere scans the finished first layer at 1 μm resolution and pauses the print if it dislikes what it sees . These fail differently, and "auto levelling: yes" tells you none of it.
Now the part the buying guides leave out. Klipper, the firmware a great many of these machines run, documents the ceiling on the idea: software correction "will not achieve perfect results", it can "only approximate the shape of the bed", and it "cannot compensate for mechanical and electrical issues" — if an axis is skewed or the probe reads badly, the routine is working from bad numbers .
Which explains the commonest complaint about it. A recurring theme on Creality's community forum is that the KE's automatic calibration can finish without an error and still leave the nozzle too high, with owners describing setting the Z-offset by hand afterwards, although this is not consistent across all reports. Nothing there is malfunctioning. It is approximating, exactly as documented.
The lidar case is sharper. Owner reports in Creality's own forum repeatedly describe the AI LiDAR failing its calibration, and a common response — including from forum staff — is to switch the LiDAR off and print without it, which owners describe as working normally; this is not consistent across all reports. None of which makes the feature oversold — it reaches a good first layer far sooner than screws and a folded sheet of paper ever did. The sheet has simply promised you a routine, not a result.
A filament sensor, and the failure it does not catch
A filament sensor pauses the print when filament stops arriving, sparing you the machine that spent six hours drawing in mid-air. Nearly every current machine has one, and it earns its place. Worth knowing, though, that the phrase covers two devices. Klipper documents them separately: a switch sensor, which responds to filament being present or absent, and a motion sensor, which uses an encoder and responds to filament actually moving through it, by default over 7 mm of travel . A switch knows whether filament is there; it cannot know whether that filament is going anywhere. A jam, a flat spot where the drive gear chewed through, a clogged nozzle — in all of them filament is still present, and a presence switch has nothing to report.
Better machines stack sensors rather than fit one, listing odometry, a run-out sensor and a tangle sensor separately ; elsewhere four features are compressed into one line , which says nothing about which kind.
The cost reframes the question: one budget machine's maker sells a filament detector kit for its own printer at about £15 . That is the feature, priced as a part.
Power loss recovery, and what defeats it
Power loss recovery lets a printer pick a job up where a cut interrupted it — on a long print, the difference between a lost day and a faint line in the wall of the part. One maker explains the mechanism instead of ticking a box. Prusa describes a mains-voltage sensor that, on an interruption, cuts the bed and extruder heating and uses the charge left in the capacitors to store the position and lift the head clear — no battery, no UPS. Two limits are stated as plainly: it does not work if you switch the machine off at the PSU, and over a longer outage "the bed will cool down and the printed object can detach itself from the sheet plate" .
That second limit decides the feature's value to you, because recovery is a race against a cooling bed: a ten-minute cut is survivable, a three-hour one on a wide flat part is not.
Presence does not follow price either: a resin printer around the £150 to £210 mark supports power-loss resume , while its stablemate in the £410 to £470 bracket does not .
The sheet says yes or no; what owners describe is a probability. Owner reports on the manufacturer's own forum describe power-loss recovery as inconsistent rather than dependable: some put their own success rate at around four times in five, others describe the printer returning to its startup screen with no resume offered, and several note that continuing a large file involves a wait while the machine reprocesses it. This is not consistent across all reports.
What a 3D printer camera is for, and what it is not for
A 3D printer camera is sold as two things: a way to watch a print from another room, and a system that spots a failure and stops the machine. The first works; the second needs expectations managed.
The hardware is unremarkable and published — 1920 × 1080 at 30 fps on one enclosed machine . It is the detection claims where the language broadens: time-lapse, remote monitoring, AI foreign-object detection and AI spaghetti detection .
No manufacturer publishes a detection rate, a false-alarm rate or the smallest model the system can see. What exists instead is a consistent reviewer account of where the blind spots sit. Owners and reviewers give the failure-detection camera credit for catching problems mid-print, while noting it cannot see the very early layers where failures most often begin.
Read that twice, because it inverts the sales pitch: the layers a camera judges worst are the first ones, and the first layer is where prints fail. It is a monitoring aid rather than a safety net — buy it for the print you check on from work, and treat every failure it catches as a bonus.
What the features cost, and what the machine costs
Two machines from one maker: one with the full convenience list, one with almost none of it. Same brand deliberately — that takes support and spares out of the comparison.
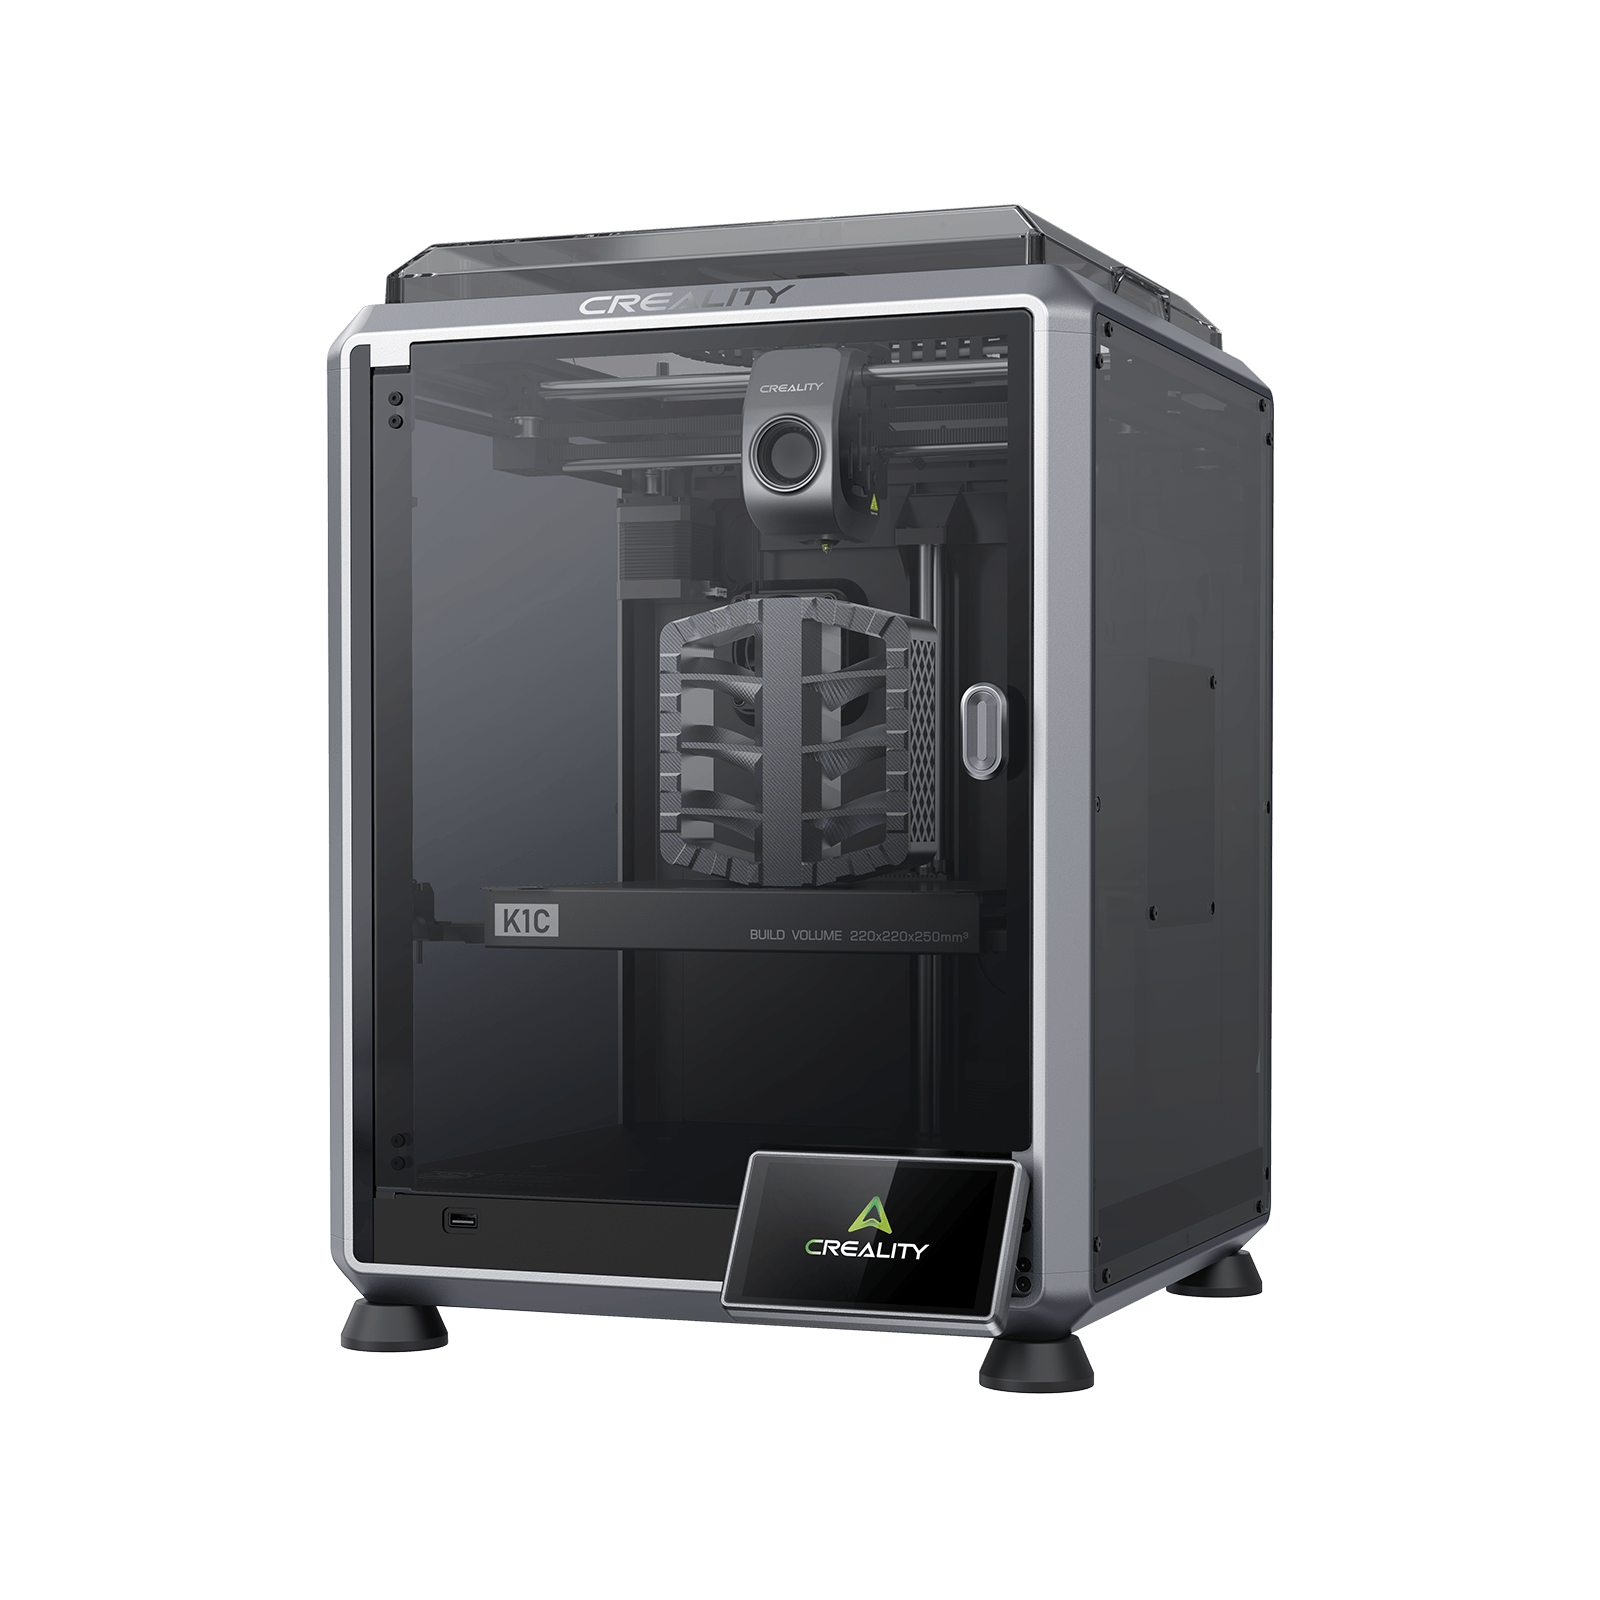
Creality K1C (2025)
K1C 3D Printer (2025 Version) - not the K1, K1 Max or K1 SE
A worked example rather than a pick: its maker states the whole convenience list on one line.
- Build volume
- 220 × 220 × 250 mm
- Technology
- FDM
- Max speed
- 600 mm/s (CoreXY, 20,000 mm/s² acceleration)
- Enclosed
- Yes (die-cast aluminium unibody, tinted glass sides, acrylic lid)
- Multi-colour
- Optional (Creality CFS-C multi-colour kit sold separately)
- Auto levelling
- Yes (hands-free automatic levelling)
The enclosed machine lists levelling, run-out detection, power-loss recovery and an AI camera together , adds an activated carbon filter , and sits between about £350 and £420 .
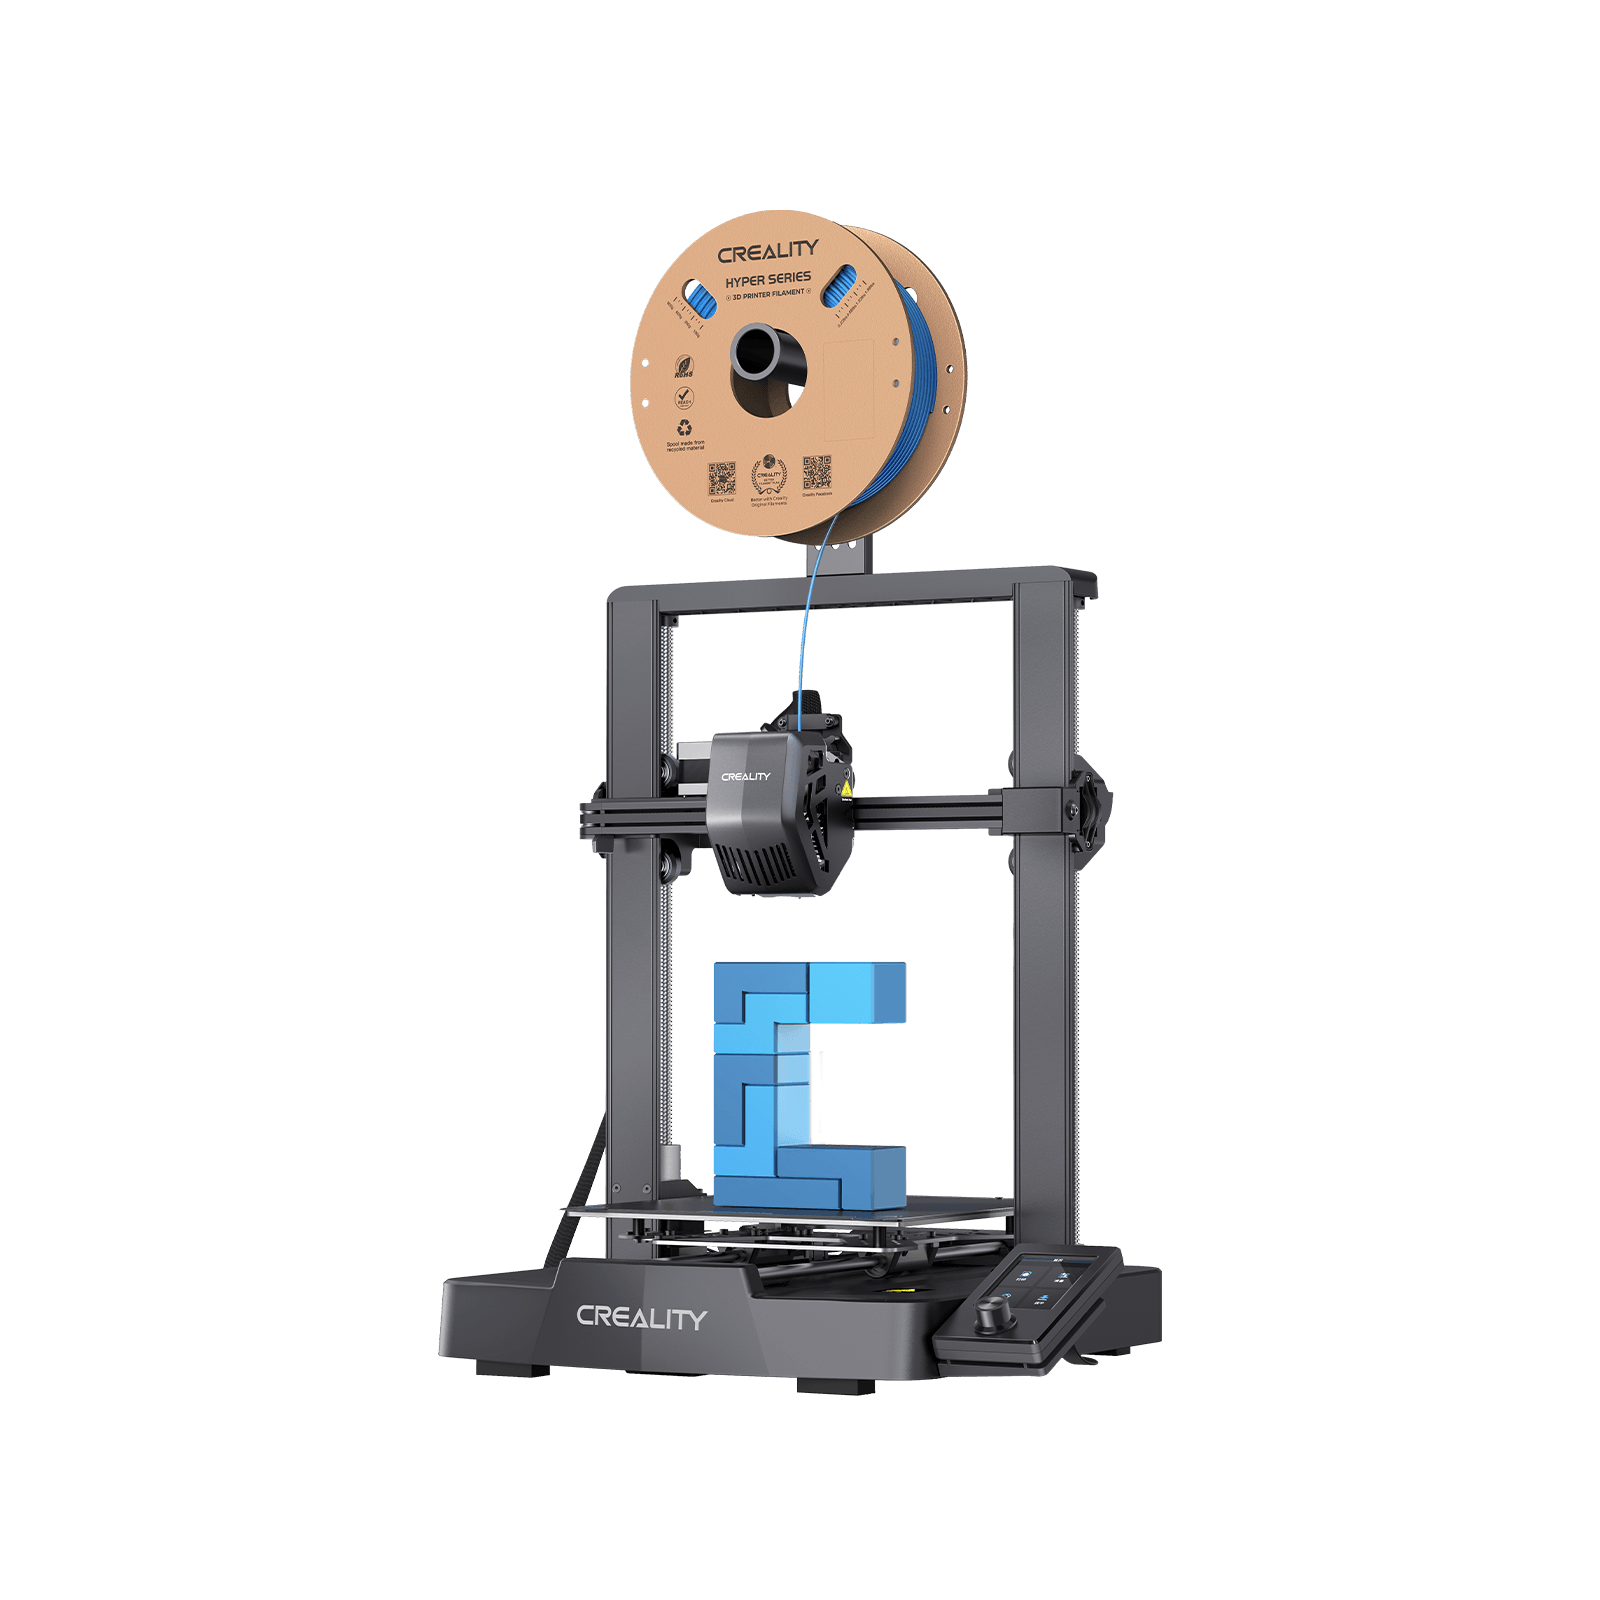
Creality Ender-3 V3 SE
A worked example rather than a pick: it keeps the feature that changes outcomes and drops the rest.
- Build volume
- 220 × 220 × 250 mm
- Technology
- FDM
- Max speed
- 250 mm/s (2,500 mm/s² acceleration)
- Enclosed
- No
- Multi-colour
- No
- Auto levelling
- Yes (CR Touch plus strain-sensor auto Z-offset)
The open-frame machine costs around £150 . It keeps automatic levelling — a probe plus a strain sensor for the Z-offset — and drops the rest: no camera, no network, a memory card and a walk across the room.
The longer feature list does not buy exemption from the problem it addresses. Several owners describe the automatic levelling losing its Z-offset after a period of normal use, leaving the nozzle dragging on the plate, and report that manual offset adjustment does not reliably correct it; this is not consistent across all reports.
| Specification | Creality K1C (2025) | Creality Ender-3 V3 SE |
|---|---|---|
| Automatic calibration | Heated-bed strain gauge, hands-free | Probe plus strain sensor for Z-offset |
| Filament sensing | Run-out detection fitted | Not fitted; detector sold as a part |
| Power loss recovery | Listed | Not listed |
| Camera | AI camera, spaghetti and foreign-body detection | None |
| Sending a file | USB, LAN or cloud | Memory card |
| What the extra mainly buys | The enclosure and the nozzle, not the feature list | The same first layer for a third of the outlay |
The gap is a bit over two hundred pounds and it does not all go on features. The enclosure and the hardened steel nozzle change what you can print; the camera, the sensor and the network change how often you get up. Only the first group is genuinely unavailable lower down.
That is the honest version of 3D printer buying features: work out which group your money is going into, and do not pay enclosure money for a camera.
Two things buyers get wrong about feature lists
That vibration compensation makes the printer faster. It does not. Klipper describes input shaping as a way to reduce ringing — the faint echo of an edge repeating across a flat surface — notes that ringing "usually has mechanical origins" in frame rigidity, belt tension and moving mass, which "should be checked and fixed first", and answers the speed question outright: it has "pretty much no impact on the print times by itself" . What it buys is permission to run higher acceleration without the ringing that would follow — which is the pattern of this whole page: a software feature sitting on hardware it cannot replace.
That multi-colour is a software feature. On a single-nozzle machine every colour change flushes the old filament out of the hot end to avoid contaminating the new colour, so the waste is by design rather than a fault — and the unit itself is sometimes a separate purchase . The cost buyers underestimate, though, is not the plastic. Owner reports repeatedly mention that colour changes add far more time than expected, with a single change taking the better part of a minute and heavily multi-coloured models running for hours longer than their single-colour equivalents.
Reading a specification sheet in five minutes
1. Find the lines that set the boundary. Build volume, maximum nozzle temperature, nozzle material, enclosure, colours. If a size or material you need falls outside them, nothing else compensates.
2. Weigh the convenience features against how you print. An hour at a weekend is a different case from a machine running overnight, and that is what decides which of them you are buying.
3. Then ask what each cannot do. The height map approximates the bed and cannot fix a skewed axis . A presence switch cannot see a jam . Recovery loses its race against a cooling bed . A camera is weakest on the early layers. That makes them bounded rather than worthless.
4. Change lists entirely for resin. The two sets barely overlap: levelling alone runs from levelling-free to four-point manual . Reviewers repeatedly credit the one-click automatic levelling with making first prints more likely to succeed for someone new to resin. What carries weight instead is resin-side — automatic fill and a temperature-controlled vat, present on one machine and explicitly absent on another .
5. Ask who holds the keys. Network printing is the feature you will use most and think about least, and implementations are not equivalent: one machine is USB-only , another supplies Wi-Fi as a removable module and never requires a network . When the line reads cloud printing, ask whose cloud. Owner reports describe the printer as tied to Bambu Lab's cloud by default, with a local-network mode that prints reliably but gives up remote monitoring and app convenience, and several describe the slicer as sluggish without an internet connection. This is owner-reported rather than a specification we could confirm with Bambu Lab directly. It is the one feature here you cannot retrofit later.
Where to go next
If the sorting has settled it and you want a shortlist ranked on everything at once, the best 3d printer uk roundup is the place to start — and if this page has convinced you the feature list is not where your money belongs, the best budget 3D printers list is the shorter route to the same first layer.
For filament machines compared on the specifications above, read the best FDM 3D printers roundup. If the resin points applied to you, the best resin printers roundup treats that feature set as its own decision.
How this article was researched
This guide is research-based. No printer named here was bought, tested, measured or photographed by us, and nothing on the page is offered as something we observed. Every specification, sensor type and price band comes from a manufacturer page, a maker's knowledge base or published firmware documentation. Prices are bands because exact figures go stale within weeks; the two machines named were last checked in September 2026. What mesh levelling, input shaping and filament sensing can and cannot do is quoted from the firmware's own documentation, so it can be checked at source.
Three things could not be verified and are absent rather than estimated: any detection rate or minimum visible model height for an AI failure-detection camera; which of the two filament sensor types a given consumer machine fits, which is why that distinction is not pinned to named models; and any per-feature pricing, so the retrofit part cost is one example rather than a rate.
Owner-experience passages are marked and summarise recurring patterns across manufacturer forums and long-term reviews — never quotations, and no rating or review count appears here.
Common questions
- What should UK buyers know about 3D printer features?
- Mostly that the feature list and the machine are two different purchases, and only one of them is expensive. A handful of specifications set the boundary of what you can physically make — build volume, how hot the nozzle runs, what the nozzle is made of, whether there is an enclosure. Everything else on the sheet, and it is the longer half, only changes how often you have to intervene: automatic calibration, filament sensing, power-loss recovery, a camera, network printing. Those are worth having, but each one has a limit its maker does not advertise, and the limits are published in places buyers rarely look. Klipper’s own documentation states that software bed correction “will not achieve perfect results” and cannot compensate for a skewed axis; Prusa states plainly that power-loss recovery is beaten by a bed that goes cold during a long outage. The practical UK point is the one nobody prints: a retrofit filament detector for one budget machine is a part costing about £15, so a missing sensor is rarely a reason to spend another couple of hundred pounds.
- Which factors change the answer for FDM and resin users?
- Almost all of them, because the two feature sets barely overlap. On a filament machine the convenience features cluster around the first layer and the feed: bed probing and mesh levelling, run-out and tangle sensing, power-loss recovery, a chamber camera looking for spaghetti. On a resin machine the equivalent list is about the liquid — resin level and residue sensing, a heated or temperature-controlled vat, automatic fill and drain, and a tilting vat that peels each layer off the film rather than lifting straight up. Levelling behaves differently too: resin machines run from levelling-free at one end to four-point manual at the other, and reviewers who have set the manual ones up generally describe the job as straightforward once learned rather than a drawback. Feature presence also fails to track price more obviously on the resin side, where one maker’s roughly £150 to £210 printer supports power-loss resume and its own £410 to £470 machine does not. So a filament buyer should ask which features reduce their intervention count, while a resin buyer should ask which features reduce their contact with uncured resin.
- What practical checklist should a buyer follow?
- Five steps, in this order. One, separate the lines that set the boundary — volume, temperature, nozzle material, enclosure, colours — because if what you need falls outside them, nothing else on the sheet compensates. Two, weigh the convenience features against the way you actually print, since an hour at a weekend is a different case from a machine running overnight. Three, look up what each convenience feature cannot do, and treat it as bounded rather than broken: a height map only approximates the bed, a presence switch cannot see a jam because the filament is still there, recovery loses its race against a cooling bed, and a camera is weakest on the early layers where most failures start. Four, if you are buying resin, throw the filament checklist away and start again on the resin one. Five, ask who holds the keys — whose cloud the machine depends on, whether a local-only mode exists, whether the slicer is the maker’s own or an open one. That last item is the only feature on the list you cannot retrofit, and it is the one that decides how well the machine ages.