Best Plug-and-Play 3D Printers UK
The best plug-and-play 3D printers in the UK, ranked by what each one still asks of you once the box is open. Six machines that arrive built, from about £170.
Independent and reader-funded. We earn a commission if you buy through our links, at no extra cost to you. How this works.
If you want a machine that prints the evening it arrives, the best plug-and-play 3D printer in the UK is the Bambu Lab P1S, at £330 to £400: Bambu Lab's own unboxing guide runs to nine numbered steps, not one of which builds any part of the printer. On a smaller budget the A1 mini, at £170 to £270, passes the same test on a smaller plate in nine steps of its own.
That is the axis everything here is ranked on: what the machine still asks of you between the sealed box and a part you are pleased with. It cuts two machines most guides put near the top, and the evidence for each cut is a document the manufacturer publishes itself. For the market as a whole, start with the best 3d printer uk guide.
The six, by what is left for you to do
One row matters more than the specifications around it: what the machine still expects from you once it is on the bench. Read it next to the account row, because a 3d printer ready out of the box is not always one you can use without signing up first.
| Specification | 1 Bambu Lab P1S Finished on arrival | 2 Bambu Lab A1 mini Cheapest that is finished | 3 ELEGOO Centauri Carbon 2 Full-auto calibration | 4 FlashForge Adventurer 5M Published setup time | 5 Anycubic Kobra S1 Combo Colour included | 6 Prusa CORE One+ (Gen 2) Fewest steps of all |
|---|---|---|---|---|---|---|
| Best for | Most buyers | A tight budget | Materials range | A known setup time | Colour from day one | Least work of all |
| Arrives as | One assembled machine | One assembled machine | One machine, screen apart | One assembled machine | Machine plus feeder | One assembled machine |
| What the maker publishes | 9 setup steps | 9 setup steps | No step count or time | 10 minutes or less | About 10 minutes | About 10 minutes |
| What you still do | Unlock bed, find a purge bin | Unlock Z-axis, fit wiper and spool | Fit the touchscreen | Plug in, level, print | Release locks, fit tubes | Attach the display |
| Build volume | 256 × 256 × 256 mm | 180 × 180 × 180 mm | 256 × 256 × 256 mm | 220 × 220 × 220 mm | 250 × 250 × 250 mm | 250 × 220 × 270 mm |
| Enclosed | Yes | No | Yes | No | Yes | Yes, heated chamber |
| Max nozzle temp | 300 °C | 300 °C | 350 °C | 280 °C | 320 °C | 290 °C |
| ABS and ASA | Listed as ideal | Not recommended | Listed as superior | Listed | Listed | With the enclosure |
| Offline setup stated | LAN Only mode documented | Not stated | Not stated | Not stated | No — cloud binding in setup | Yes, Wi-Fi module removable |
| Typical UK price | £330–£400 | £170–£270 | £280–£310 | £260–£400 | £340–£400 | £1,150–£1,300 |
| UK warranty | 2 years, UK not named | 2 years | 12 months | 12 months | 1 year | 1 year |
What plug-and-play has to mean before it means anything
Nothing here was bought, unboxed or run. This guide is desk research — manufacturer pages, manuals, wikis and quick-start guides, UK store listings, and owner reports from public forums. Our review methodology covers the general rules; what this page added was one habit that decided the whole shortlist. We read the packing list before the feature list.
Do that and the phrase splits into three claims a listing will blur together. Does it arrive assembled? The packing list answers it: a pre assembled 3d printer comes out of the box as a machine, not as a frame, a base and a bag of screws. Does it arrive calibrated? The first-run routine answers it. Does it need nothing further? The slicer and the filament answer it, and nobody checks that one.
Two machines failed the first question, and both are routinely called plug-and-play. The Creality Ender-3 V3 SE levels its own bed and costs very little, and it is a machine you build from parts. The Bambu Lab A1 is the more surprising cut: the packing list for the non-combo A1 names an "A1 printer base housing", an "A1 printer frame" and screws whose stated purpose is "For A1 printer assembly", and the only A1 unboxing guide Bambu Lab publishes — the one written for the Combo — runs to eighteen steps, of which step four joins base to frame and step eight installs twelve screws. A good printer, and an easy one. Not a finished one.
A published setup time counted for something, but only against what the same maker admits elsewhere. FlashForge says its levelling system eliminates manual calibration while its UK store describes the job as plug in, level and print. ELEGOO sells full-auto calibration and publishes a manual bed-levelling fallback. Where a figure could not be confirmed from a primary source it was left out: the Creality K1C would have fitted the brief, but publishes no setup document. If price binds harder than convenience, the best budget 3d printers uk guide is the better start, and the best fdm 3d printer uk roundup covers the wider filament market.
Finished when it arrives: Bambu Lab P1S
Count the steps the maker publishes and this machine wins, which is not where a specification comparison would put it. The guide is nine steps: unpack, check accessories, plug the screen in, undo three safety screws to free the heatbed, screw on the spool holder, power up and let the self-test run, pull the foam from under the bed, load filament, find something to catch the purge. Nothing is built, and nothing is adjusted.
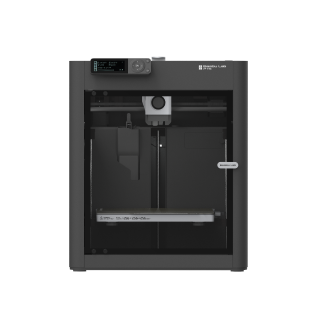
Bambu Lab P1S
P1S (standard, without AMS - not the P1P, P1S Combo or P2S)
Nine published setup steps, none of them assembly, and an enclosure so the convenience does not expire on materials. Noise is its main drawback.
- Build volume
- 256 × 256 × 256 mm (Bambu Studio defaults to 250 mm height)
- Technology
- FDM
- Max speed
- 500 mm/s toolhead (20 m/s² acceleration)
- Enclosed
- Yes (plastic and glass; chamber temperature regulator fan and activated-carbon filter)
- Multi-colour
- Optional (AMS or AMS 2 Pro sold separately or as a Combo)
- Auto levelling
- Yes (automatic bed levelling sensor)
What we like
- Nine published setup steps, not one of which assembles the printer
- Enclosed, with ABS and ASA listed as ideal rather than tolerated
- Owner reports put box to first print inside an hour
- Still in production, with two UK supply routes for spares
What we don’t
- No acoustic figure is published, and noise is the complaint owners raise most
- The last setup step is finding a box to catch purged filament
- Carbon and glass fibre need an extruder and hotend upgrade first
- Bambu Lab's warranty page lists two years for several regions but not the UK
The specification decides whether you ever open the machine again. A 256 × 256 × 256 mm build volume sits inside a glass and plastic enclosure with a chamber temperature regulator and an activated carbon filter, under a 300 °C nozzle over a 100 °C bed. That is why ABS and ASA are on Bambu Lab's ideal list rather than its tolerated one: the materials ceiling that forces an upgrade on the open-frame picks is not in the way. Levelling is automatic, and the model remains in production, which matters for spares.
A recurring theme among buyers is that the machine goes from box to a successful first print inside an hour without changing slicer settings, with the automatic calibration routine taking up most of that time. Here the owner record and the documentation agree.
Two things take the shine off. Owners repeatedly trace the noise to the fans rather than the motion system, and a recurring theme is that the chamber fan is the loudest part of the machine when it is running PLA. No decibel figure is published, so that is the only evidence there is. And the ninth step asks you to find a box for purged filament — trivial, and the clearest illustration of why "finished" never quite means finished.
Buy this if you want one box to arrive and one evening to be enough. Skip it if it must live where somebody sleeps: ELEGOO at least rates the Centauri Carbon 2 at 45 dB or under.
The cheapest machine that arrives finished: Bambu Lab A1 mini
At the bottom of this market the usual trade is convenience for money, and this is where that trade stops being necessary. The packing list names one item — "A1 mini printer" — rather than a frame and a base, and the guide is nine steps: foam out, four screws out of the Z-axis limiter, a zip-tie cut from the toolhead, three heatbed screws tightened, the purge wiper and spool holder screwed on, the tube fitted, then the on-screen routine calibrates. No time is published against that list, so none is quoted here — only a sequence in which nothing is assembled, at £170 to £270.
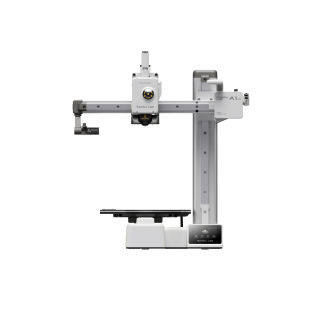
Bambu Lab A1 mini
A1 mini (standard, without AMS lite)
Nine published steps, every one of them unwrapping or fitting an accessory rather than building a printer. The smallest plate here and the coolest bed.
- Build volume
- 180 × 180 × 180 mm
- Technology
- FDM
- Max speed
- 500 mm/s toolhead (10 m/s² acceleration)
- Enclosed
- No
- Multi-colour
- Optional (AMS lite sold separately; up to 4 spools)
- Auto levelling
- Yes (fully automatic)
What we like
- The packing list names one printer, not a frame and a base
- Nine steps, every one of them unwrapping or fitting an accessory
- Two years of UK warranty, the longest term on this page
- 150 W rated maximum and 5.5 kg — the most frugal and the most portable
What we don’t
- A 180 mm cube, the smallest build volume here by a clear margin
- An 80 °C bed: PLA comfortably, PETG as a stretch, and nothing hotter
- ABS, ASA, polycarbonate, nylon and fibre-filled filaments are not recommended
- No published noise figure, and owners are divided on the main-board fan
What the price gives up is size and heat, not convenience. The plate is a 180 mm cube, and while the nozzle reaches 300 °C the bed stops at 80 °C — the coolest of the six. A hot nozzle over a cool bed on an open frame is a PLA machine with PETG as a stretch, and Bambu Lab says so, naming ABS, ASA, polycarbonate, nylon, PET and fibre-filled filaments as not recommended. It draws the least power here at a rated maximum of 150 W and carries two years of UK warranty, the longest term on this page.
Where it is caught out is after setup rather than during it. Several owners describe gaps in the first layer that cleared once the plate was washed thoroughly and a flow calibration was run. Washing a plate is the commonest reason a plug-and-play machine disappoints in week one. The specification sheet also publishes no noise figure anywhere, and a recurring complaint among A1 mini owners is the constantly running main-board fan, which some find intrusive at idle, although others describe the machine as quiet enough for a living space.
Buy this if the budget stops near the £200 mark and you want the machine finished on arrival rather than cheaper and in pieces. Skip it if you want ABS or ASA, or a 180 mm cube is too small — the P1S answers both.
Full-auto calibration for the money: ELEGOO Centauri Carbon 2
Convenience usually costs capability at this price, and here it does not. ELEGOO sells this machine on full-auto calibration, meaning a 121-point auto-levelling pass plus a partial bed-levelling routine run from a five-inch touchscreen — which is the one item in the box not already fitted. For £280 to £310 it brings the widest material range here.
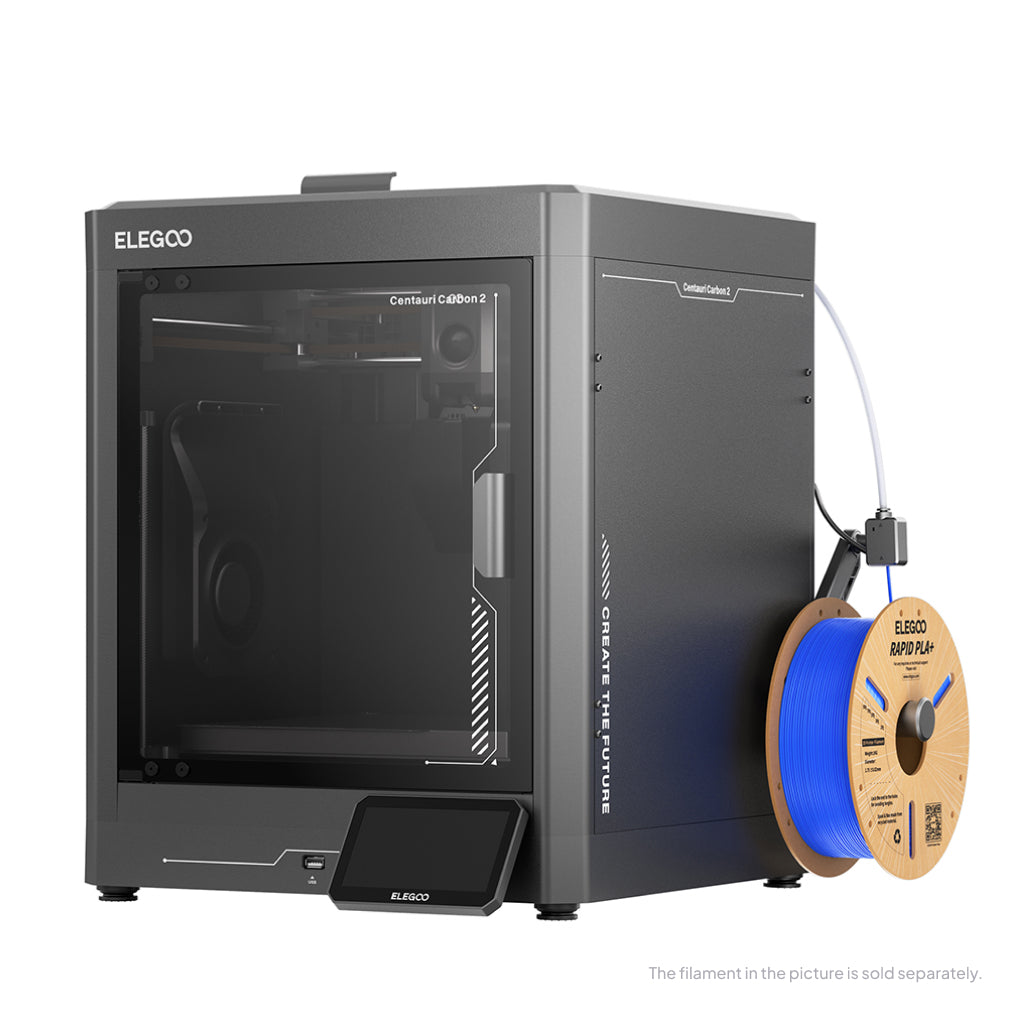
ELEGOO Centauri Carbon 2
Centauri Carbon 2 (standard, without CANVAS - not Combo)
An enclosed CoreXY machine with a 350 °C hardened nozzle, arriving as one unit with only the screen to fit. Its software record is the weakest part of it.
- Build volume
- 256 × 256 × 256 mm
- Technology
- FDM
- Max speed
- 500 mm/s (CoreXY)
- Enclosed
- Yes (thermally regulated enclosure)
- Multi-colour
- Optional (CANVAS 4-colour system; included only in the Combo; standard unit can be upgraded)
- Auto levelling
- Yes — full-auto calibration with 121-point auto-levelling and partial bed-levelling
What we like
- Enclosed CoreXY with a 350 °C hardened nozzle under the £310 mark
- ABS, ASA, PET and their carbon-filled versions rated superior, not merely possible
- 121-point auto-levelling, run from the touchscreen with nothing to set
- One of only two machines here that publishes a noise figure
What we don’t
- The touchscreen is the one item in the box that is not already fitted
- Software and app connectivity draw the most consistent owner complaints
- Twelve months on the printer, and nothing at all on plate, nozzle or tools
- ELEGOO publishes a manual levelling procedure as the fallback
A 256 × 256 × 256 mm plate sits in a thermally regulated enclosure under a 350 °C hardened steel nozzle over a 110 °C bed. ELEGOO grades filament in three tiers and the middle one does the work: ABS, ASA, PET and their carbon-filled versions, plus polycarbonate and nylon, are rated superior rather than merely possible, and the hardened nozzle is what makes fibre-reinforced filament a stated option. It is rated at 45 dB or under, one of only two machines here to publish an acoustic figure.
The hardware arrives ready; the software is where the promise frays. A recurring theme among Centauri Carbon 2 owners and reviewers is flaky connectivity between the printer, slicer and app, with USB printing the common fallback. And some early reports suggest the default Z-offset benefits from a small manual tweak for a clean first layer. ELEGOO itself publishes a manual bed-levelling procedure for the series — ten screws out of the bottom cover, a belt tensioner loosened, then the gap set with a sheet of A4 paper. It is a fallback rather than a setup step, and the honest answer to how automatic full-auto is. Warranty is twelve months, with plate, PEI platform, nozzle kit, tube and tools carrying none.
Buy this if you want an enclosed machine with a real materials range, arriving as one unit. Skip it if you want the connected experience as finished as the hardware — the P1S has the steadier record there.
The one with a published setup time: FlashForge Adventurer 5M
Only two makers here put a number on how long setting up takes, and this is the cheaper. FlashForge's UK store states setup in ten minutes or less, no experience needed, and describes the job as plugging in, levelling and printing. That word order repays attention, because the same company says elsewhere that its Automatic Datum Management system auto-levels in real time, "eliminating manual calibration". Both sentences are FlashForge's. Only one mentions you.
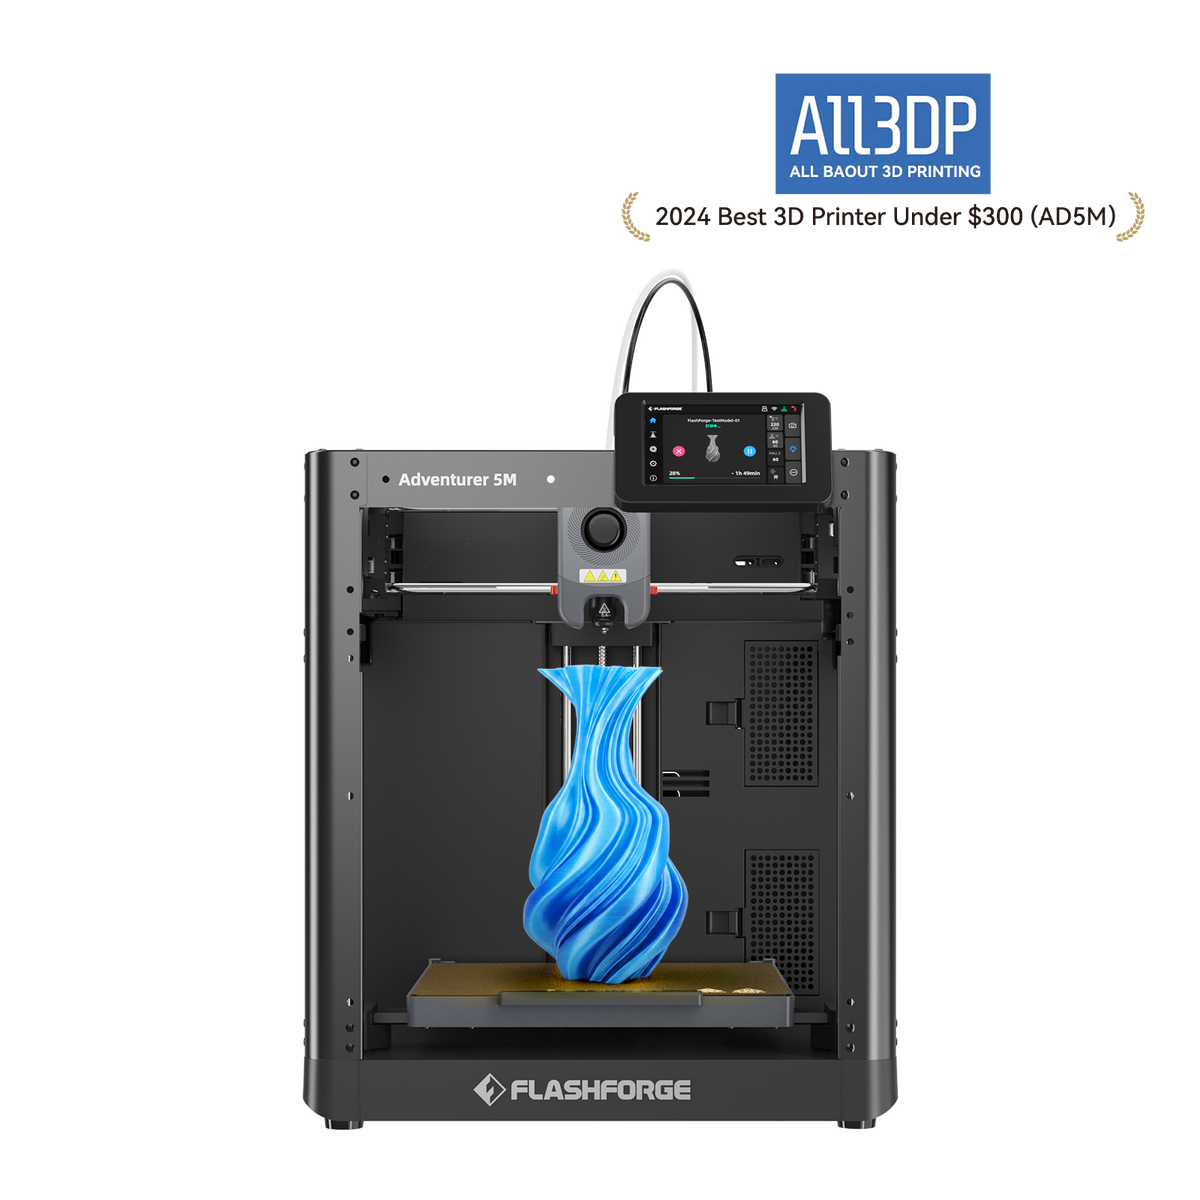
FlashForge Adventurer 5M
Adventurer 5M (open-frame standard model; not the enclosed 5M Pro)
Ten minutes or less by the maker's own account, the fastest figures here on paper, and standard open slicers instead of one company's app. An open frame and half the warranty of the Bambu picks.
- Build volume
- 220 × 220 × 220 mm
- Technology
- FDM / FFF CoreXY, direct drive, single extruder
- Max speed
- 600 mm/s (20,000 mm/s² acceleration)
- Enclosed
- No (open frame; a DIY enclosure kit is sold separately)
- Multi-colour
- No
- Auto levelling
- Yes — FlashForge's Automatic Datum Management (ADM) auto-levelling
What we like
- FlashForge states setup in ten minutes or less
- 600 mm/s and 20,000 mm/s², the highest published figures on this page
- Runs standard open slicers rather than one manufacturer's app
- The only pick with a wired network port as well as Wi-Fi
What we don’t
- The same maker describes the job as plug in, level and print
- A 280 °C nozzle, the lowest ceiling here, on an open frame
- An enclosure is a separate kit, which rather defeats the point
- Twelve months of UK warranty, and three on extruder parts
It is quick in the way that shortens a real print: the published ceiling is 600 mm/s at 20,000 mm/s² of acceleration, the highest numbers here, and acceleration is what matters because real models are mostly corners. Levelling is the ADM routine, and files travel over Wi-Fi, Ethernet or USB — the only wired network port on this page.
It is not higher because of the other half of plug-and-play: the software is standard rather than supplied. Orca-FlashForge, the free slicer for this generation, is a fork of the open-source OrcaSlicer with tuned profiles, and owners also drive the machine with plain OrcaSlicer, PrusaSlicer or Cura. That is a genuine advantage and a genuine decision. Owner discussion repeatedly turns to which slicer to run, with FlashForge's Orca fork the usual recommendation over the bundled one. Above it in this list, that conversation does not arise.
The limits are the frame and the warranty. The nozzle stops at 280 °C, the lowest ceiling here; ABS and ASA are on the supported list but an enclosure is a separate kit, which is close to a contradiction on a plug-and-play page. UK warranty is twelve months, three on extruder parts, and no acoustic figure is published: owner reports on the open-frame version repeatedly name the fans as the loud part and describe adding an enclosure as the fix.
Buy this if you want a stated setup time, open slicers and the fastest figures here, at £260 to £400. Skip it if you expect the machine to make every decision for you.
Plug-and-play in four colours: Anycubic Kobra S1 Combo
Colour is where this claim usually collapses, because the feeder is a second machine you bolt to the first. Here it arrives in the same box as the printer it was packed for, and Anycubic publishes the whole first-start routine rather than a slogan: PID tuning, then feedback compensation, then auto-levelling, after which printing can begin — about ten minutes in total. Three named calibration operations, each one something you start.
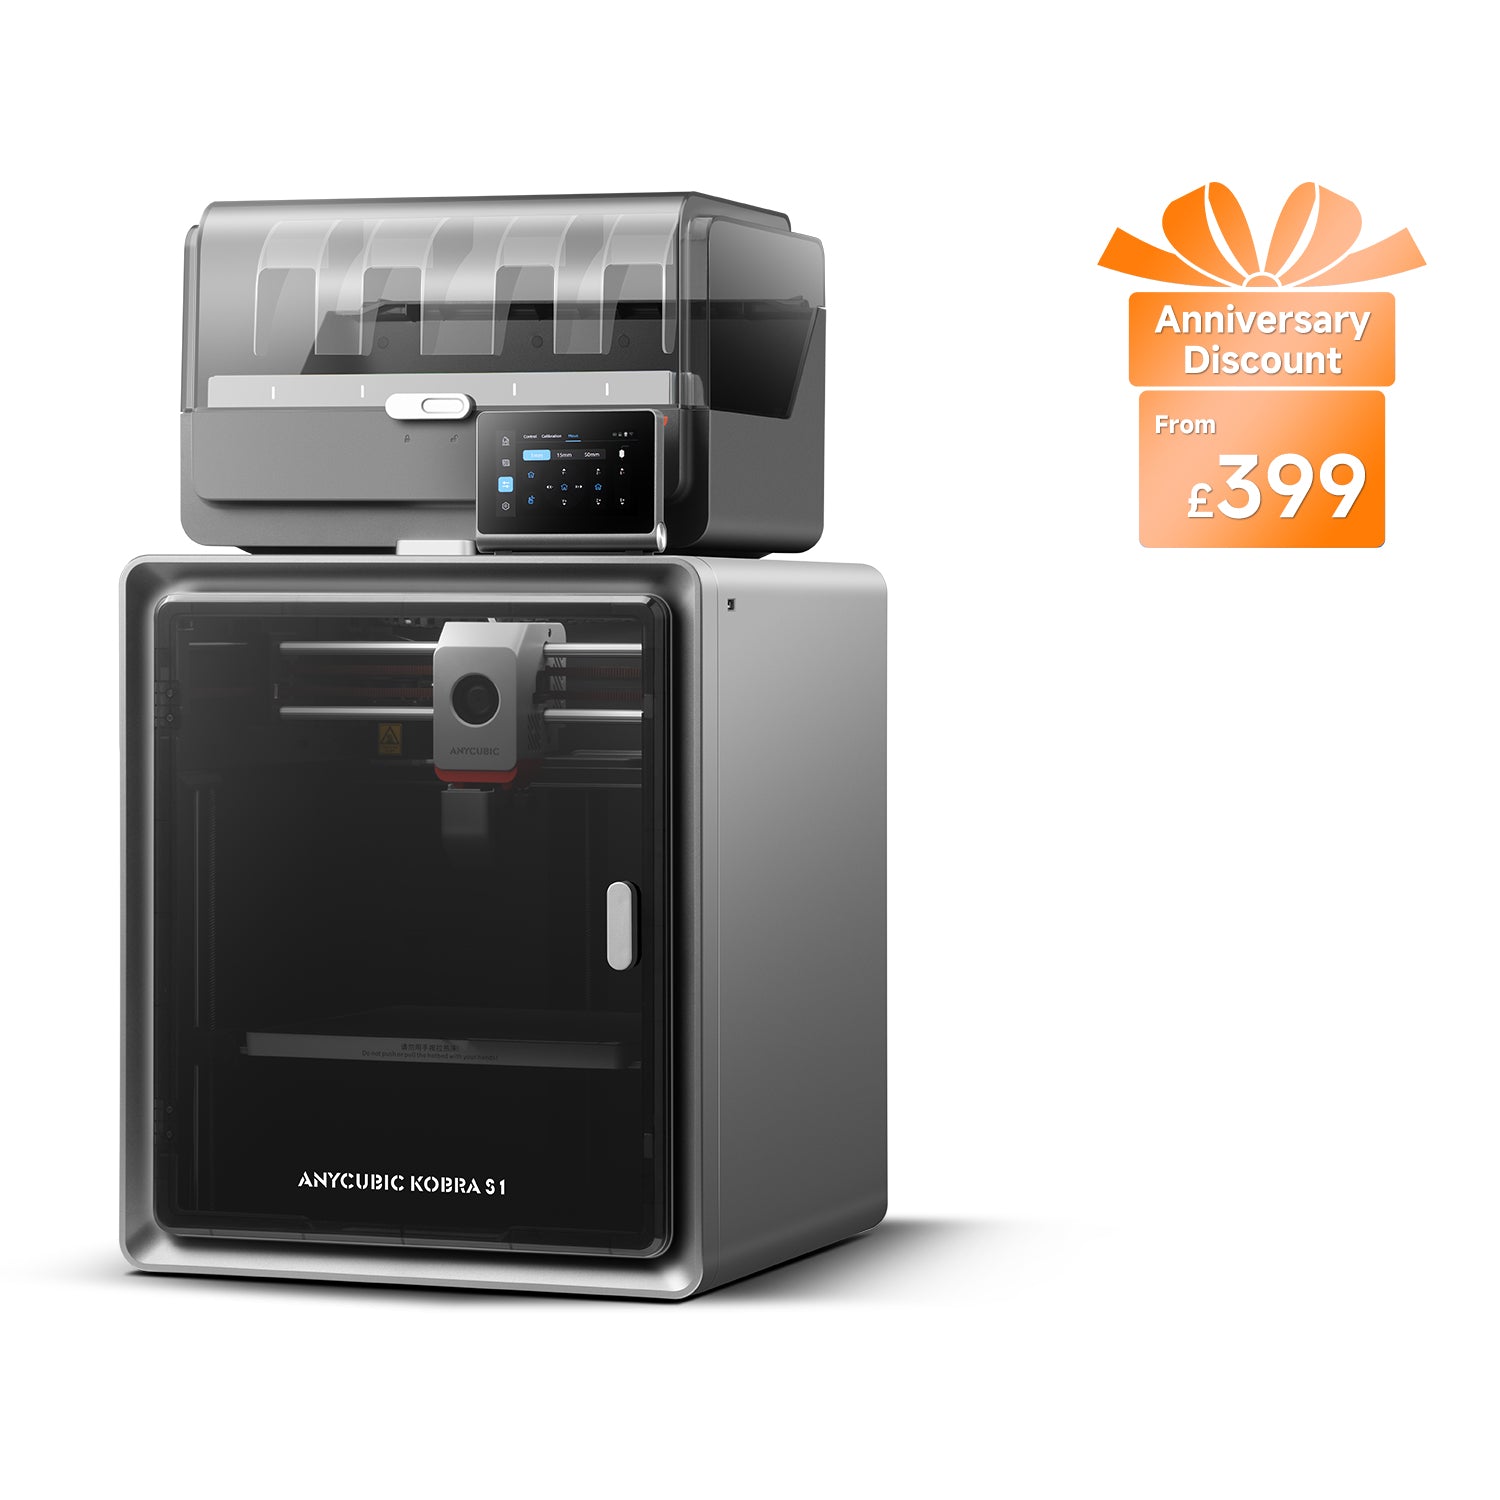
Anycubic Kobra S1 Combo
Kobra S1 Combo (enclosed CoreXY supplied with the 4-colour ACE Pro — not the Kobra S1 standalone, the Kobra S1 ACE 2 Pro Combo, the 8-colour two-ACE bundle or the Kobra S1 Max Combo)
Enclosed, assembled, four colours in the box, and a first-start routine the maker publishes step by step. The guided setup binds it to Anycubic's cloud, and purge waste is yours to catch.
- Build volume
- 250 × 250 × 250 mm
- Technology
- FDM (FFF)
- Max speed
- Recommended 300 mm/s; maximum 600 mm/s; maximum acceleration 20,000 mm/s² (manufacturer maxima)
- Enclosed
- Yes — fully enclosed CoreXY construction
- Multi-colour
- Yes — 4 colours with the supplied ACE Pro; 8 with a second ACE Pro unit
- Auto levelling
- Yes — LeviQ 3.0 automatic levelling with Z-axis offset
What we like
- The colour feeder arrives with the printer it was packed for
- Anycubic publishes the whole first-start routine and puts it at about ten minutes
- A 120 °C bed, the hottest on this page, inside a fully enclosed CoreXY frame
- Rated 46 dB in standard mode and 44 dB in its quiet one
What we don’t
- The guided setup includes binding the machine to Anycubic's cloud platform
- Purge waste is ejected rather than collected, so you supply the bin
- Owner reports make the colour feeder, not the printer, the thing to manage
- One year of warranty, the shortest term here alongside the Prusa
Underneath is a fully enclosed CoreXY machine with a 250 × 250 × 250 mm plate, a 320 °C nozzle over a 120 °C bed — the hottest bed on this page — and LeviQ 3.0 automatic levelling with Z-axis offset. It is rated at 46 dB in standard print mode and 44 dB in its quiet one, and it is a substantial object at 18 kg net. The supplied ACE Pro feeds four colours and dries filament while it prints, though TPU 95A is listed for the printer while stated as incompatible with the feeder.
Owner and reviewer reports repeatedly describe the machine arriving assembled, with transit hardware and the filament path the only things to deal with before the guided routine runs, although several describe a first print that failed for reasons traced to the feeder rather than the printer. Owner reports also repeatedly mention filament waste at colour changes, with a recurring theme that owners print their own chute or bin to catch the purged material because the machine ejects it rather than collecting it.The setup has one condition the others do not: the quick-start guide puts network setup and binding the cloud platform inside the guided first power-on, so an account is part of the out-of-the-box experience. Warranty is one year plus a 30-day after-sales guarantee.
Buy this if colour is why you want a printer and you want it working the same day, at £340 to £400. Skip it if you print one colour at a time: the Centauri Carbon 2 is cheaper, with a higher nozzle ceiling and the same enclosure.
The shortest route from box to print: Prusa CORE One+
On this page's own axis the order would begin here. Prusa states that the first print starts about ten minutes after unpacking, and describes the hardware half as attaching the display, plugging it in and running a one-time automatic calibration that handles levelling and sensor checks with no manual adjustment. One part to attach is the fewest of the six. It ranks sixth on price: £1,150 to £1,300.
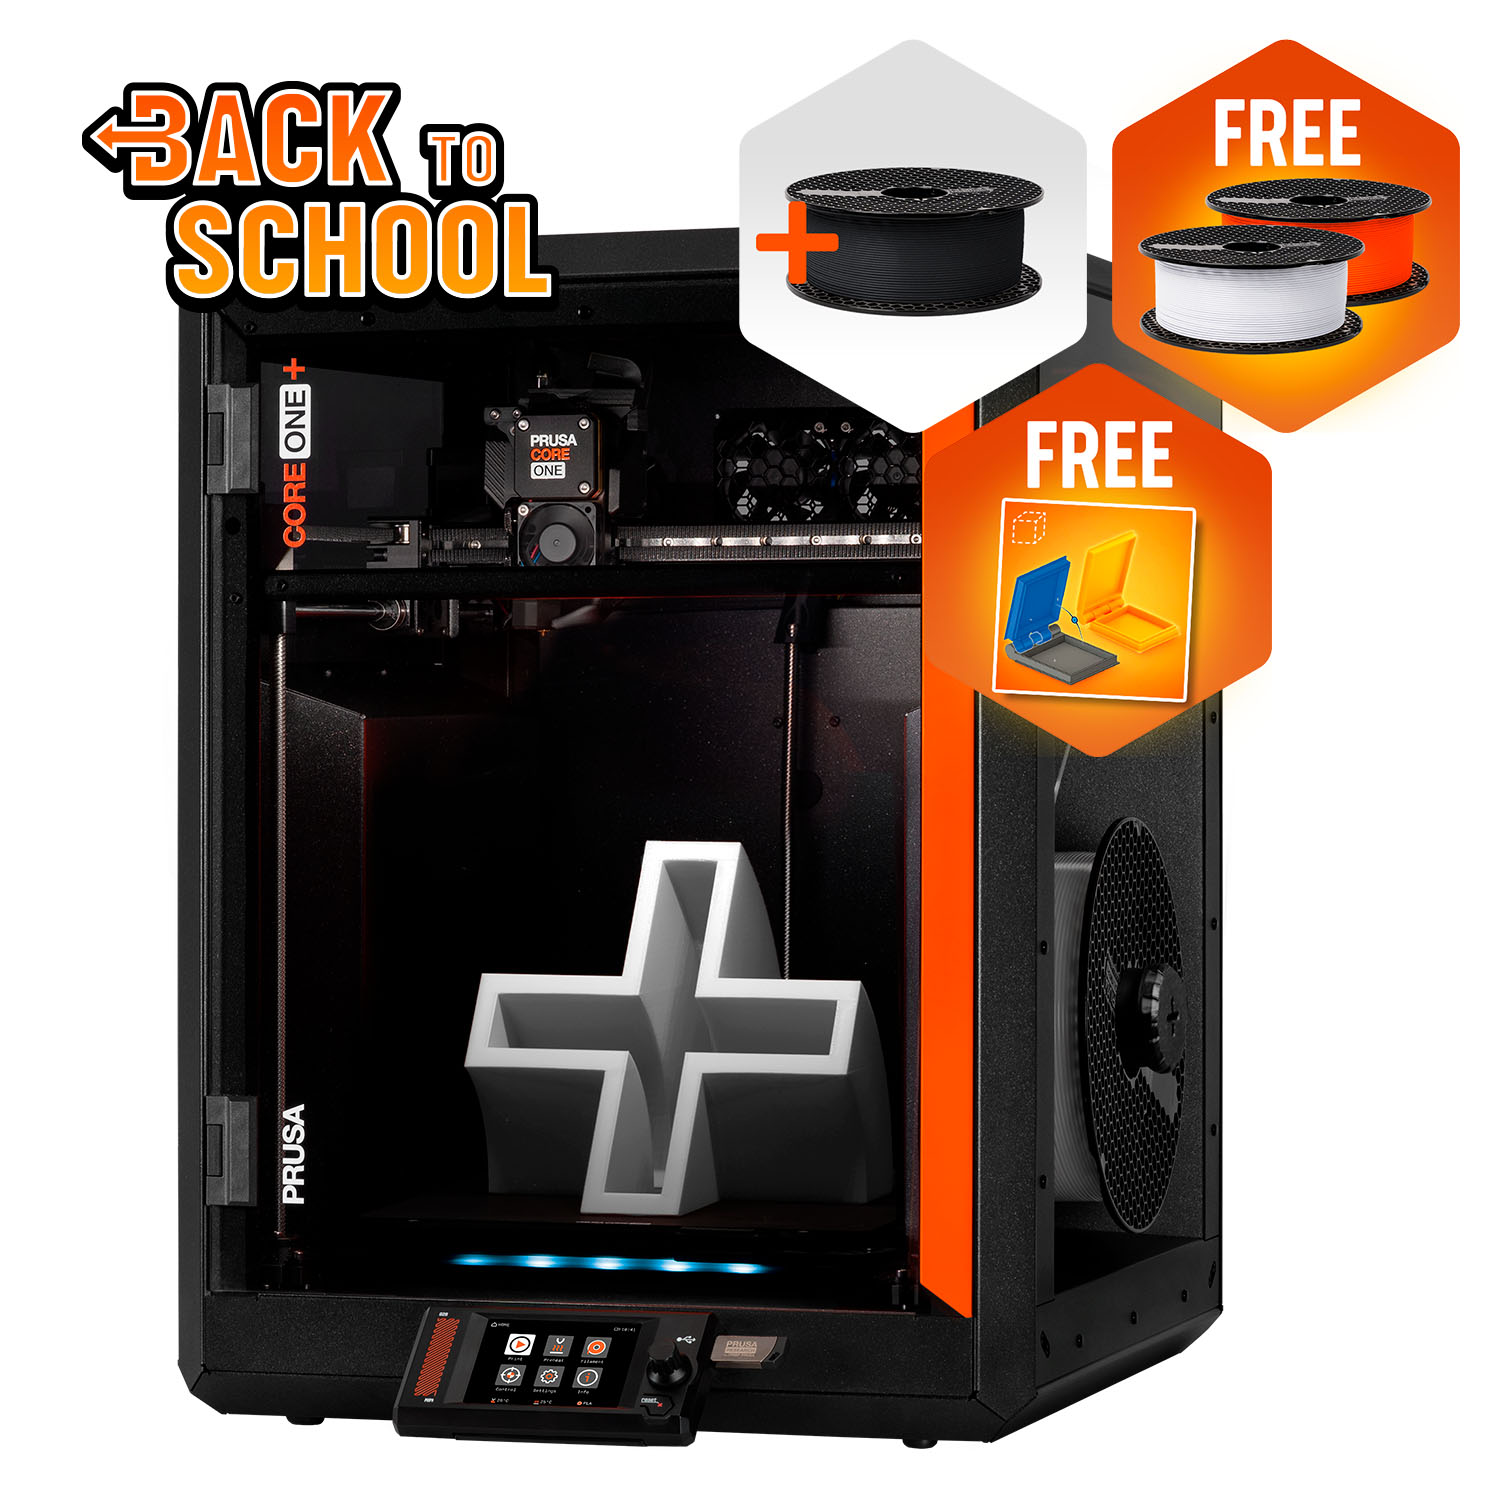
Prusa CORE One+ (Gen 2)
CORE One+ (Gen 2), assembled
One part to attach, a published ten minutes to first print, and a maker that states the machine can be configured and run entirely offline. Several times the price of the budget pick.
- Build volume
- 250 × 220 × 270 mm
- Technology
- FDM
- Max speed
- Not stated on manufacturer product page - Unverified
- Enclosed
- Yes (fully enclosed CoreXY; active chamber heating up to 55 °C)
- Multi-colour
- Optional (MMU3 5-filament unit or INDX tool-changer up to 8 tools, sold separately)
- Auto levelling
- Yes (fully automatic load-cell first-layer calibration)
What we like
- One part to attach, and a published figure of about ten minutes to first print
- Load-cell calibration: the first layer is set by force, not by a bed map
- Stated to configure and run offline, with a removable Wi-Fi module
- A real consumption figure — 90 W on PLA — rather than a rating-plate ceiling
What we don’t
- Several times the price of the budget pick for a shorter setup
- One year of UK warranty against two for EU, Swiss and EEA consumers
- UK VAT, duty and a courier fee are collected on delivery when buying direct
- Owners report PLA heat-creep clogs in the warm chamber, and fine vertical banding
The calibration is a different mechanism from everything above it, which is why it can promise more: rather than probing the bed with a sensor, the machine measures nozzle contact through a load cell, fully automatically — an automatic 3d printer in the literal sense that the first layer is set by force. Around it sits a fully enclosed CoreXY frame with active chamber heating to 55 °C, a 250 × 220 × 270 mm build volume, and a stated consumption of 90 W on PLA or 110 W on ABS — the only real consumption figure on this page rather than a rating-plate ceiling.
The account is the thing no competitor mentions: Prusa states the printer can be configured and run offline, including slicing and firmware updates, with the Wi-Fi module removable altogether. For a school or a workplace with a security policy, that is the difference.
The variant is the catch, and the whole point of this page: the identical model is sold assembled or as a kit, which Prusa describes as producing exactly the same machine. Only one of those is plug-and-play, and every figure here is for the assembled one. Owner discussion on the manufacturer's own forum is genuinely divided on buying the assembled machine rather than the kit: several describe the build as a rewarding one- or two-session job that taught them the printer, while others describe paying the difference to avoid the hours and the doubt about whether they had built it correctly. Living with it has its own caveat: owner reports on the Prusa forum repeatedly describe PLA heat-creep clogs in the enclosed chamber, particularly in warm rooms. The UK warranty is one year against two for EU, Swiss and EEA consumers.
Buy this if the fewest setup steps are worth paying for, or an offline machine is a requirement. Skip it if the budget is near the other five — the P1S arrives finished too, for roughly a third of the price.
What to check, and where the promise runs out
Four questions separate an easy calibration 3d printer from a machine wearing the label, and only one appears in a headline specification.
Read the packing list, not the feature list. Ask what happens when the levelling routine finishes, because every machine here levels its own bed and the difference is the leftovers: a recurring theme among owners is that getting the best out of the machine at speed is a calibration job rather than something the shipped profile does for them, with pressure advance and flow the settings that come up. Find out whether setup includes an account — only Prusa states its machine can be run offline, while on the Kobra S1 Combo the cloud binding sits inside the guided first power-on. And count what you will have to catch or clean: the P1S's last published setup step is finding a box for purged filament.
Then there is how long the promise lasts: a zero setup 3d printer is a reasonable thing to want and a phrase no manufacturer can honour indefinitely. Two things end it.
The first filament that needs different hardware. Bambu Lab states that fibre-reinforced filaments should not be printed on the P1S before an extruder and hotend upgrade, and the A1 mini has ABS, ASA, polycarbonate, nylon, PET and fibre-filled filaments on its not-recommended list. The Centauri Carbon 2 is the exception.
Buying for materials you will not print. The opposite mistake, and the commoner one. An enclosure and a 350 °C nozzle are worth real money if engineering filament is the point; if your list is PLA and PETG they can get in the way: a recurring theme among owners printing PLA in an enclosed machine is running it with the door open and the top lifted to keep the chamber from getting warm enough to soften the filament before it reaches the nozzle.
Resin is excluded outright. Those machines arrive simple, but the work is not in the setup: gloves, isopropyl alcohol, washing, curing, ventilation and a disposal routine, after every print, for the life of the machine. For small, intricate, smooth work it is still the right technology, and the best resin printers for miniatures uk guide covers the machines that do it.
Running costs: what a finished machine costs to keep
Convenience is paid for once; running the machine is paid for monthly. Here is the arithmetic, with its assumptions showing — an estimate, not a quotation.
Electricity is the small number, and the rating plate is the wrong place to start. The Ofgem price cap puts a domestic unit at 26.32 pence per kWh from 1 October to 31 December 2026. Treat specification-sheet wattages with suspicion: the Kobra S1 Combo is rated at 1,500 W on a 200–240 V supply, but that is a ceiling touched while a bed heats, not what the machine draws for the rest of a job. The one real consumption figure across these six comes from Prusa: 90 W on PLA, 110 W on ABS. Take 100 W as a working average and a print costs roughly 2.6p an hour — about 78p a month at thirty printing hours.
Filament is the number that moves. Ordinary PLA runs about £14 to £18 per kilogram in the UK, VAT included — consumer prices must be shown inclusive of the 20% standard rate. Budget two or three kilograms across the first few months rather than one, because early prints fail more often and every failure is plastic. On the colour machine, add the purge.
A recurring response among owners asking what a printer costs to run is to measure it with a plug-in energy monitor rather than work from the rating plate, because tariff, material and idle time move the answer more than the machine does.Buying in the UK: stock, warranty and support
On a machine bought for convenience, what happens when it goes wrong is part of the convenience.
How many ways in. Most have more than one: Bambu Lab's own store plus a UK retailer for the P1S, ELEGOO's official UK store for the Centauri Carbon 2, and Anycubic's UK store plus a cheaper UK retailer for the Kobra S1 Combo. The Adventurer 5M now comes from FlashForge's own UK store after a major retailer stopped carrying it. Prusa ships direct from Prague — and on orders over the £135 ex-VAT threshold the UK VAT, duty and a courier fee are collected on delivery. Buyers who have ordered direct from overseas repeatedly describe the same two surprises: a carrier handling charge on top of the VAT, and time in customs clearance on top of the transit time.
Warranty terms are not equal, and one does not name us. ELEGOO gives twelve months on the printer, with plate, PEI platform, nozzle kit, tube and tools excluded entirely. FlashForge gives twelve months and three on extruder parts — worth noting, since the extruder works hardest. Anycubic gives one year plus a 30-day after-sales guarantee. Prusa gives the UK one year while EU, Swiss and EEA consumers get two. And Bambu Lab's warranty page states two years for the P1S in the EU, Switzerland, Norway, Iceland, the United States and Canada — a list that does not include the United Kingdom.
Your statutory rights do not depend on any of that. The Consumer Rights Act 2015 gives a short-term right to reject faulty goods for 30 days after delivery, and buying at a distance adds a 14-day cancellation right regardless of fault. Both sit with the retailer rather than the brand, which is a reason to run a real print in the first fortnight.
Support reputations differ more than the specifications do. Owners on UK review sites frequently describe Prusa's support as fast and knowledgeable, with the main complaints reserved for shipping-date slippage. And a recurring theme among Bambu Lab buyers is slow warranty support, with owners describing tickets that sit open for weeks, although this is not consistent across all reports. That argues for buying where there is a returns desk you can actually reach.
Which plug-and-play printer should you buy?
Most people should buy the Bambu Lab P1S at £330 to £400: the machine whose published setup guide contains no assembly at all, whose owner record agrees with that guide, and whose enclosure means the convenience does not expire the first time you want a different filament.
If the budget stops lower, the A1 mini at £170 to £270 is the cheapest machine here that genuinely arrives built. For the widest material range, the Centauri Carbon 2 at £280 to £310 is the best value and the weakest on software. For a stated setup time and open slicers, the Adventurer 5M at £260 to £400 is the only pick offering both. Take the Kobra S1 Combo at £340 to £400 if colour is the reason you are buying, and the CORE One+ at £1,150 to £1,300 only if the fewest possible steps is worth that much.
Plug-and-play is a real category now rather than a marketing phrase, but it is three claims stacked into one word, and the makers themselves publish the evidence for each. Every machine here arrives as a machine, and every one still asks for something: a box under a chute, a screen to clip in, a transit lock to free, an account to bind, a flow calibration the first time you change filament brand. Pick the one whose leftovers you do not mind.
- Buy it if
- You want one box, one evening, and no materials ceiling waiting for you — the Bambu Lab P1S, around £330 to £400.
- Skip it if
- You need the machine silent, or the budget is under about £250. The A1 mini arrives just as finished, and gives up plate size rather than convenience.
When one of these stops being enough it will be a materials or a volume limit, and the best 3d printer uk guide covers what changes further up.
How this article was researched
This guide is research-based. No printer on it was purchased, unboxed or operated, and nothing here is a measurement of ours. What is unusual is how plain the evidence is: every manufacturer here publishes a setup document, a packing list or a quick-start guide, and those documents decided both the shortlist and the order. Every specification figure cites the page, sheet, manual or wiki it came from, and anything that could not be confirmed from a primary source was left out rather than estimated — which is why no setup time is quoted for two of the six, and why four carry no noise figure. Price bands were checked against UK store listings on 6 October 2026. Owner-experience passages describe recurring patterns found in public forums and UK review sites, and are labelled where they appear.
Common questions
- Which printer works straight out of the box?
- On the evidence the manufacturers publish themselves, the Bambu Lab P1S and the Bambu Lab A1 mini both do: each has a nine-step unboxing guide in which nothing is assembled, only unwrapped or clipped on. The Prusa CORE One+ asks for less again — one display to attach — but costs several times as much. Be wary of the label elsewhere: the Creality Ender-3 V3 SE is a kit you build, and Bambu Lab's own packing list ships the standard A1 as a separate frame and base with screws for joining them, so neither belongs in this category however often they appear in it.
- Do plug-and-play printers still need calibration?
- They calibrate themselves, and that is not the same as never needing calibration. All six machines here run their levelling and first-layer routines automatically on first power-on, and on most of them you will never touch that again. What is left is material calibration: change filament brand and flow and pressure advance are worth setting, which owners of several of these machines describe doing by hand. ELEGOO goes further and publishes a full manual bed-levelling procedure for the Centauri Carbon 2 series as a fallback — not a step most owners will ever perform, but proof that full-auto has an end.
- What is the easiest first print workflow?
- Unpack, remove every transit lock and screw the manufacturer names, power on, let the guided routine finish, then print the test model already stored on the machine before you install any software at all. Anycubic, FlashForge and Bambu Lab all ship a pre-sliced file for exactly this, and it separates a hardware problem from a slicer problem on the first attempt. Only then install the slicer, and leave the supplied profile alone until you have a reason to change it. Wash the plate with warm water and washing-up liquid before the second print; a dirty plate is the commonest reason a first layer fails on a machine that is working perfectly.